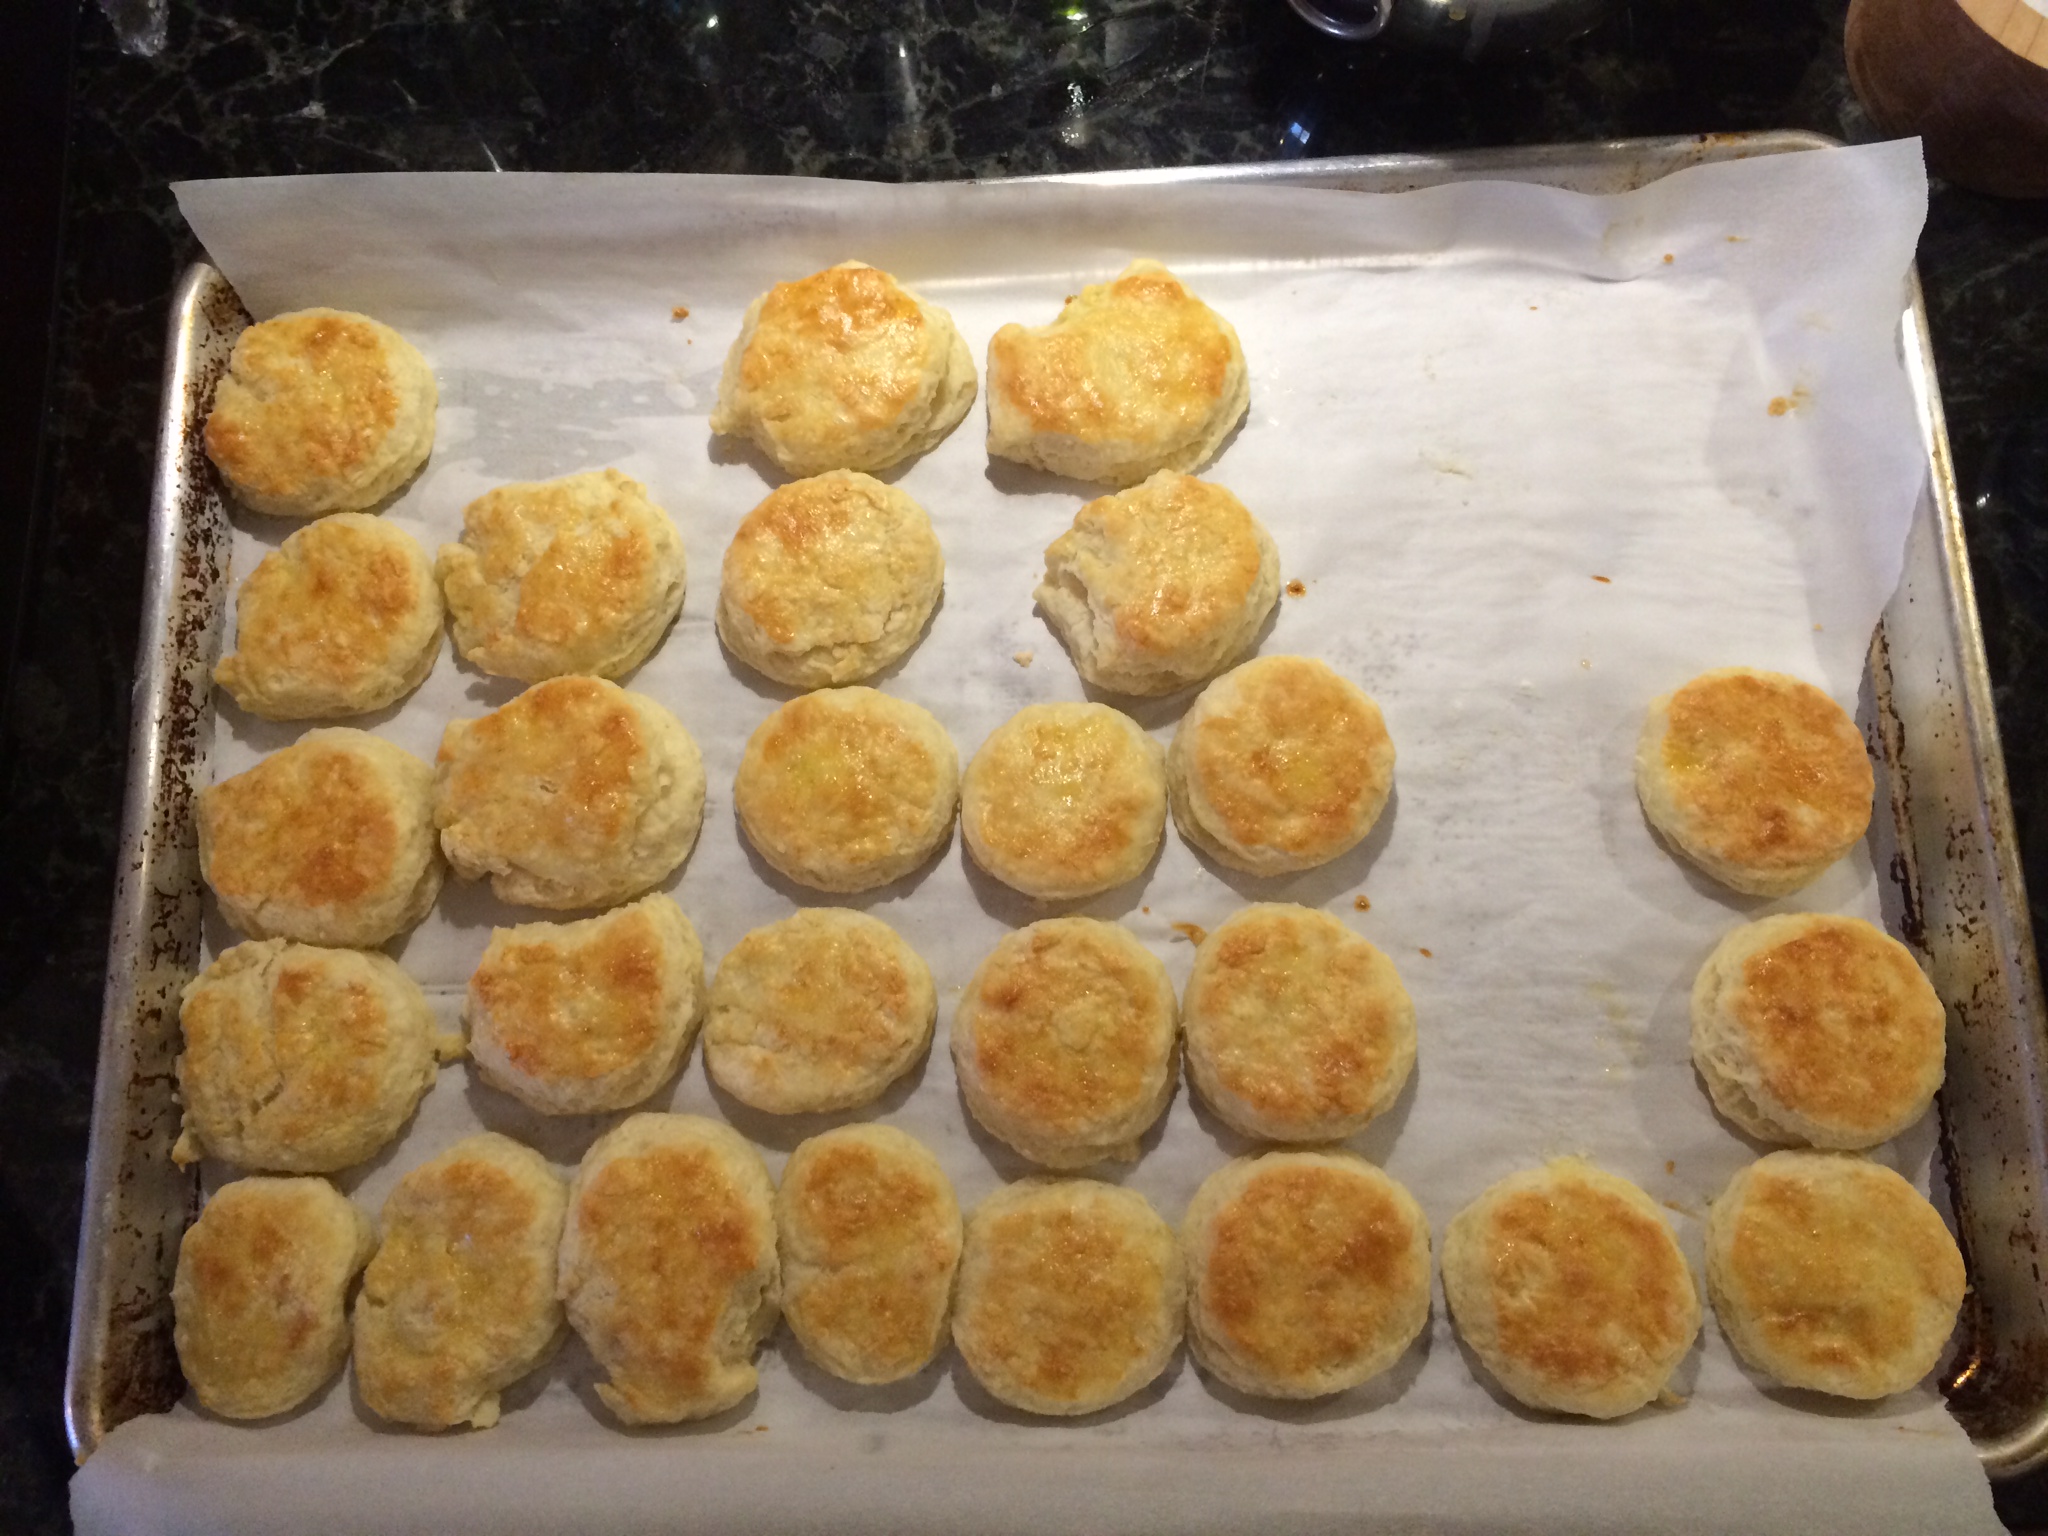
I cannot believe how easy biscuits really are to make. And they are cheap to make, too, with only about 5 ingredients! They can feed about twenty people if you have guests for brunch. I have written the recipe in detail in the recipe blog section of the website under classic buttermilk biscuits.
The first time I made these was a month ago in culinary school, then made them at home last Sunday morning, and then did them in my midterm practical yesterday. What can I say? I’m becoming the queen of biscuits. And if I can be, then anyone can be, too.
There are a few secrets. First of all, don’t overwork the dough. (You want them flaky and tender.) Second, sift the flour so you don’t have lumps and don’t over mix the dough. Third, use a straight edge cutter and cut cold cut pieces of butter into the flour by hand. It uniformly cuts into pea size, which is the perfect size needed in order build the layers of fat needed to create a flaky dough. (Don’t use the mixer as it won’t create the consistent pea size needed.)
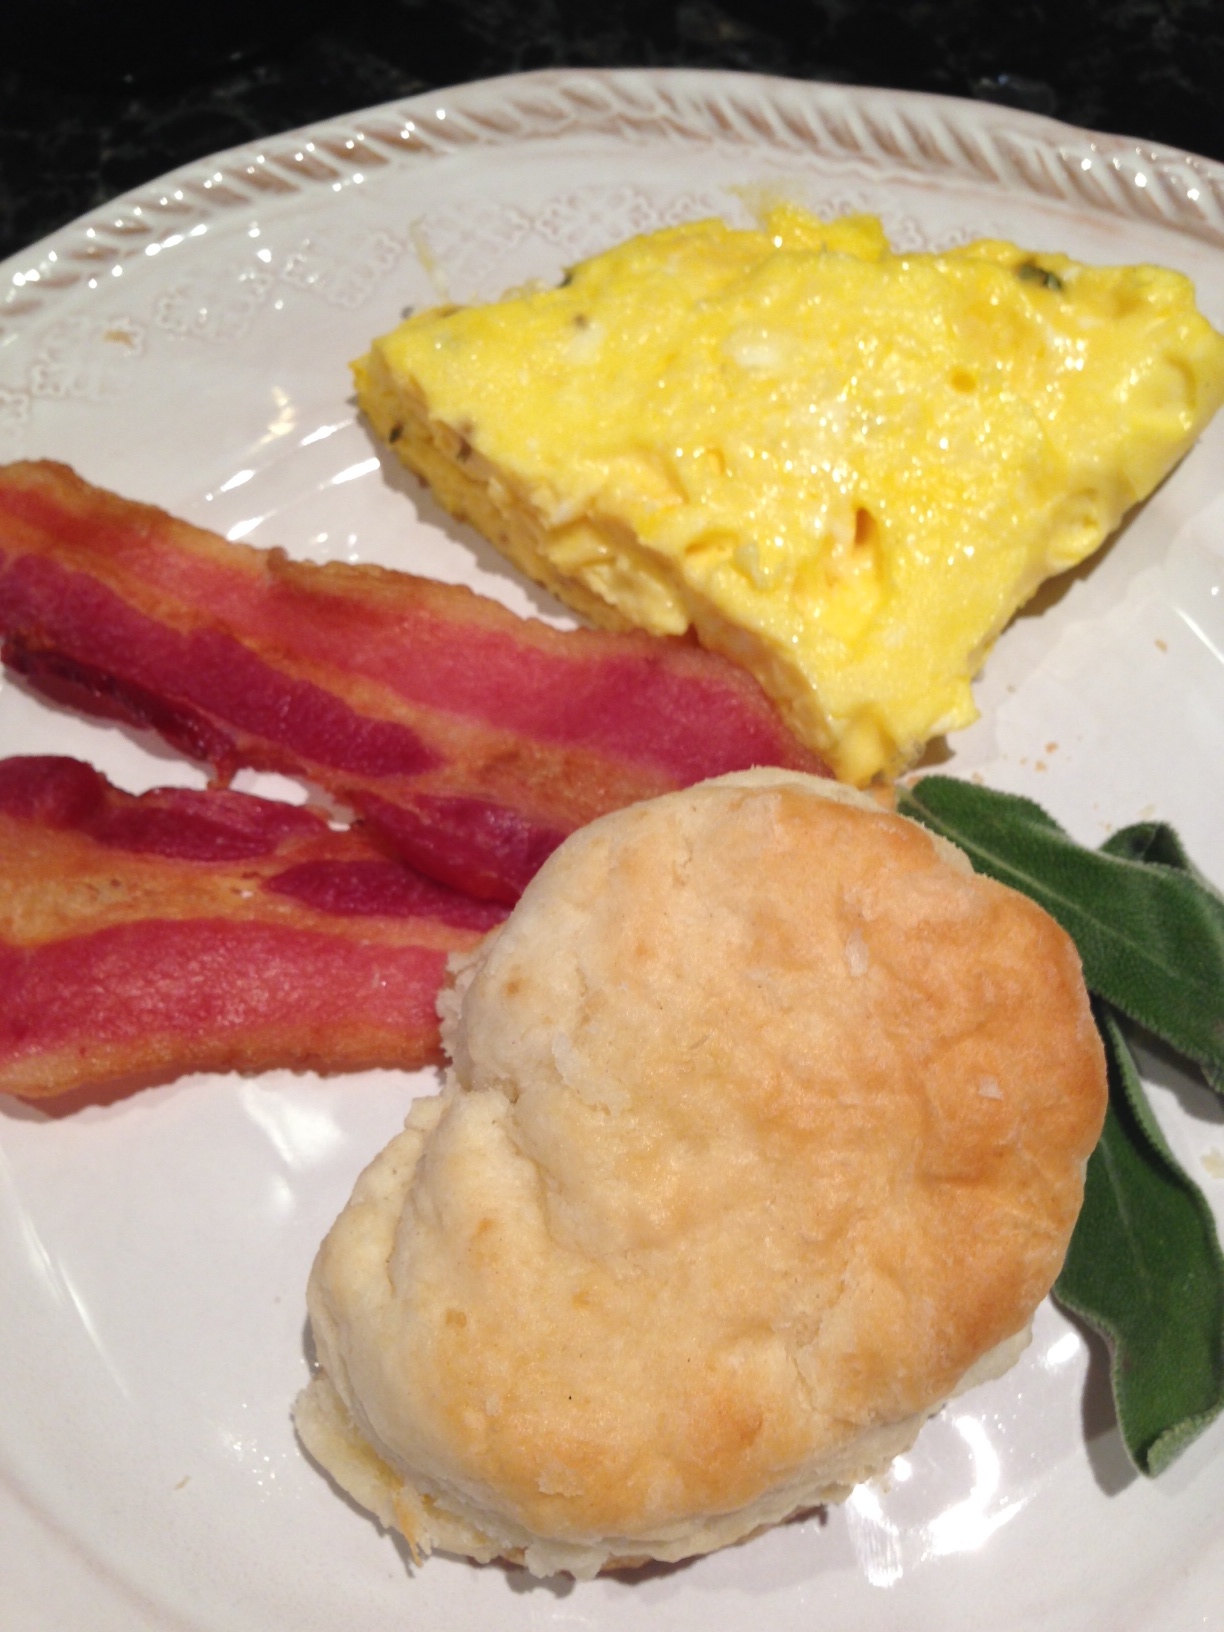
Here is a picture of my biscuit next to an omelet and few fresh sage leaves I did for my husband’s and my breakfast last weekend. (The biscuit wasn’t bigger than the egg…it just looked that way!) I brushed the biscuit with egg wash before baking to give it that shiny, finished, professional look. (Just before baking, here is the recipe for egg wash: 1 beaten egg, pinch of salt and sugar, and splash of water, all mixed together. Paint this mixture, with a pastry brush, onto the top of biscuits or any bread/pastry dough to moisten, seal, and finish it before putting it into the hot oven. Once finished baking, the bread will emerge shiny, golden, and delicious.)
So try these and let me know how how they are. When I made them at home, I served them to friends who came to brunch. Then I gave some to neighbors. People love biscuits so you can always give them as little appreciation gifts, or as a thank you to someone, or make them for someone you love. Everyone loves a homemade biscuit. It’s a wonderful comfort food.
*If you cook these for love, someone will love you back.
Ingredients Quantities
Cake Flour 10 oz
Bread Flour 10 oz
Sugar, granulated 1 oz
Baking Powder 1 oz
Salt .25oz
Butter, unsalted, cold & cubed
7 oz = Yield 42 oz
Mixing Method Cut-In (which means you “cut in” the cold cubed butter slices into the sifted dry ingredients.
You “cut in” the butter (using a pastry scraper) until the butter in the butter-flour mixture becomes pea size in shape.
Shape: Shape them into Rounds
Baking Temperature: 400 F
Directions: 1. Sift flours, sugar, salt, and baking powder
2. Cut in ice cold butter (that has been sliced into cubes)
3. Mix in buttermilk, it is the variable- fold in carefully with a rubber spatula. A rubber spatula mimics fat, so it won’t stick to the batter-dough. As soon as the flour absorbs the buttermilk, you can use your hands to finish combining the unmixed dry flour with the moist dough gently. It’s ok to have some of the flour dry and unmixed. It will finish mixing in the kneading process.
Pour this batter-dough mixture onto a cleaned, floured surface. Carefully use your hands to push-pat this dough into a long rectangular shaped log that is about 16” long. Then fold each end up (opposite ends of the log) towards center of the log and then gently push down into the log again, so that you form a smaller log, then repeat gently patting the whole mixture into an oblong log again about 16″, and repeat the process again as stated above. Do this about 4-6 times or until you press your finger into the dough and the finger print indentation stays imprinted into the dough. Then you know it is ready. Whatever you do, be gentle with the dough and don’t knead too hard. (Reason: Overworking dough creates strong gluten bonds that makes biscuits too tough. Strong bonds are good for lean yeast breads like baguettes but not quick breads with cut in butter layers like biscuits.)
4. Roll dough out to ¾ inch to 1 inch thickness and cut into rounds. (When rolling, start in the center first, then rotate the bread and start in the center again rolling in a different direction. Then roll out from the center all the way out to the ends)
5. Bake at 400 F
6. Bake until lightly brown on top (every oven is different so look for signs of doneness)
7. You can take leftover dough pieces, combine, reform a small log, roll out, and cut again. These pieces won’t be as tender or as flaky ad the first batch, but they will be very good. The butter that was cut in between the layers of dough makes it flaky and tender. (Remember: Overworking the dough creates strong gluten bonds that creates toughness. *** Cook’s Warehouse and Williams Sonoma sell inexpensive digital baking scales that measure weight instead of volume. You can also Google a conversion of volume such as TBSP’s and cups to ounces. To get exact, consistent baking results like baking professionals do, you must measure in weight, not volume. Volume measuring varies but weight never does. Once you get the hang of it, it is really easy to do. **** When using a digital baking scale, be sure to “tare” and plastic measuring vessel you are using to weigh your product. Tare this holding vessel to “0” before adding the ingredient to it so that everything measures the same.


